
How to Crop Images Online Without Losing Quality
Resizing makes a photo smaller, but it cannot remove the photobomber, the messy desk in the background or the extra sky above your subject. Cropping can. It is the fastest way to fix composition, isolate a subject and force a photo into the exact shape a platform demands.
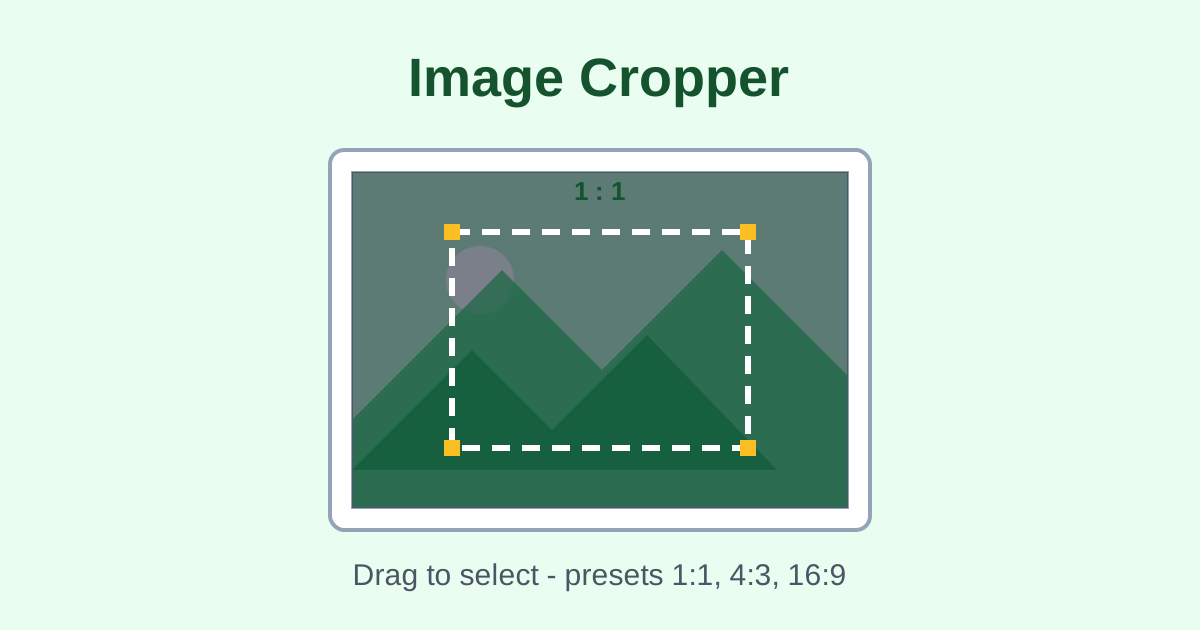
The image cropper lets you drag any region over your photo, on desktop or touch screens, with a live pixel-size readout and presets for square (1:1), standard (4:3) and widescreen (16:9). The export keeps the full original resolution, so your crop stays sharp. When the whole picture matters but it is simply too big, use the image resizer instead; when you need to know an image's ratio before choosing a preset, the image ratio checker gives you the answer.
What is the difference between cropping and resizing?
Cropping cuts away part of the picture to change what is shown and what shape the frame takes. Resizing keeps the whole picture and only changes how many pixels it has. Crop when you want to remove distractions or force a square or widescreen shape; resize when the full scene matters but the file is too large.
Cropping is subtractive: you select a rectangle and everything outside it is gone. Resizing is proportional: the whole picture shrinks but the composition is unchanged. That difference decides which tool to reach for. A group photo where you want only one person needs cropping. A 5 MB photo that needs to fit a 500 KB upload limit needs resizing. Professional photographers crop ruthlessly; the difference between a good photo and a great one is often just tighter framing.
Cropping also changes the aspect ratio while resizing preserves it. Dragging a square region out of a widescreen photo turns 16:9 into 1:1, which is exactly what profile pictures, thumbnails and product grids require. Resizing that same photo would just make the widescreen version smaller. In practice the two tools work as a pair: crop for composition and shape, then resize the result to the exact pixel dimensions you need. Many editors also let you crop, but a dedicated cropper keeps the workflow to seconds: upload, drag, export.
Which aspect ratio preset should I use?
Use 1:1 for profile pictures, thumbnails and anything square; 4:3 for classic photo shapes; and 16:9 for video thumbnails, covers and website heroes. The preset locks the shape so your crop matches the platform exactly, and you just position the box over the best part of the photo.
The presets exist because platforms are opinionated about shape. Profile pictures, Instagram posts and product thumbnails want 1:1 squares. Traditional photo prints and many older displays use 4:3. YouTube thumbnails, video covers and modern website heroes want 16:9 widescreen. Picking the preset before you drag the box guarantees the shape is right, so you can concentrate on framing the subject. Most platforms document their preferred ratios in help centers, and matching them exactly avoids the platform's own automatic crop.
When the preset does not fit your subject, free cropping is the answer. Drag any rectangle you like, and the live pixel readout tells you exactly how many pixels the region contains. That number matters: a 200-pixel crop will look soft if you later stretch it across a full screen, while a 2000-pixel crop has room to spare. Keep an eye on it while you compose.
What mistakes should I avoid when cropping?
Crop too tight and you cut through heads, joints or text; leave breathing room around the subject. Watch the live pixel readout so your crop is large enough for its destination. Always crop from the original photo, never from an already-cropped copy, and keep the original archived in case you need a different framing later.
The classic cropping mistakes are easy to spot once you know them. The first is cropping too tight: cutting through a joint, the top of a head or the edge of text in a screenshot. Leave a little breathing room around the subject. The second is ignoring the pixel readout and ending up with a crop so small it looks blurry when displayed. If the readout shows tiny numbers, loosen the box.
The third mistake is cropping a copy of a copy. Every crop is permanent for that file, so always start from the original photo. And remember that cropping cannot add anything back: if you cut away the background you needed, the only fix is to re-crop the original. Keep originals archived, and crop with intent rather than by accident.
How to use the Image Cropper in 4 steps
- Upload your photo. Drop a JPG, PNG or WebP onto the tool on desktop or your phone. The full image loads with nothing uploaded to any server.
- Pick a preset or go free. Choose 1:1, 4:3 or 16:9 to lock the shape, or drag freely for a custom rectangle.
- Position the box. Drag and resize the selection over the part of the photo you want to keep, watching the live pixel-size readout.
- Export and download. Choose PNG for lossless sharpness or JPG with the quality slider, then download the full-resolution crop.
6 practical tips for sharper crops
- Crop for shape, resize for size. Use the cropper to fix composition and force the right aspect ratio, then hand the result to the image resizer for exact pixel dimensions. This two-step order keeps every pixel working for the final image.
- Rule of thirds for better framing. Position eyes, faces or key subjects roughly a third of the way in from the edges rather than dead center; most photos instantly look more professional.
- Watch the pixel readout. A crop destined for a full-screen display needs far more pixels than one headed for a small thumbnail. Match the crop size to the destination.
- Remove distractions at the edges. Strangers, bins, cables and clutter usually sit at the frame edges. A slightly tighter crop often fixes a photo that felt busy.
- Keep the original. Crops are permanent for that file. Archive the full photo so you can try a different framing later without quality loss.
- Export PNG for text and graphics. Screenshots, memes and images with text stay crisp as PNG; use JPG for natural photos where file size matters.
Frequently asked questions
Does cropping reduce image quality?
No. This cropper exports at the full original resolution, so the selected region keeps every available pixel. The result is smaller in dimensions only because you removed part of the frame, not because anything was downscaled.
Can I crop a square thumbnail from a wide photo?
Yes. Drag a square 1:1 region over your face or logo and export as PNG. Square thumbnails are used by profile pictures, favicons and product grids, and cropping rather than squashing keeps the subject natural.
Should I crop or resize first?
Crop first, then resize. Cropping sets the composition and shape; resizing then brings the dimensions down to your target size. Doing it in this order avoids wasting pixels on parts of the photo you were going to cut anyway.
PNG or JPG: which export should I pick?
Use PNG for lossless quality, especially for screenshots, logos or images with text. Use JPG with the quality slider at 85 or above for photos where a smaller file matters more than pixel-perfect edges.
Is my photo uploaded when I crop it online?
No. Cropping runs entirely in your browser using local file reading. The photo is processed on your own device and is never uploaded to a server, stored anywhere or seen by anyone else.
Ready to try it yourself? It's free, no signup required.
Try the free Image Cropper →