
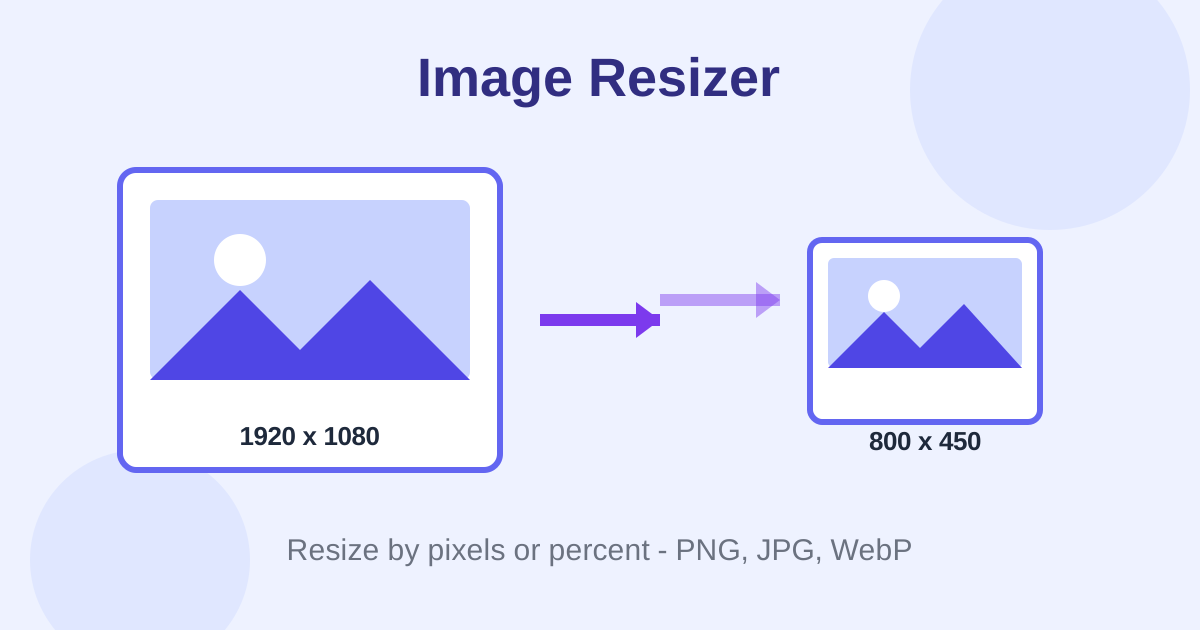
Image Resizer: Resize Photos to Exact Dimensions Free
A modern phone photo is 4032 x 3024 pixels and several megabytes. Upload that to a job portal, a marketplace listing or a blog and one of three things happens: the form rejects it, the page crawls, or the site crushes it into a blurry mess. The fix is simple: resize the image to the dimensions you actually need before you upload it.
The image resizer does exactly that, right in your browser. Set exact pixels or scale by a percentage, lock the aspect ratio so nothing stretches, and export to PNG, JPEG or WebP with a quality slider. If you need to remove parts of the photo instead, pair it with the image cropper; if you are unsure how big your file really is, the image dimension checker reads the true pixel size first.
What does resizing an image actually change?
Resizing changes the pixel dimensions of an image, for example from 4032 x 3024 down to 1200 x 900. Fewer pixels mean less detail and a smaller file, but the visible content stays the same. It is different from compression, which keeps the dimensions and only squeezes the file size, and from cropping, which cuts away part of the picture.
Think of pixels as tiles in a mosaic. A 4032 x 3024 photo has about 12 million tiles; a 1200 x 900 version has about 1 million. Viewed on a phone screen or inside a 600-pixel-wide blog column, those two versions look almost identical, because the screen cannot show the extra tiles anyway. All the resized image does is throw away tiles you were never going to see, which is why the file shrinks dramatically.
This is why exact dimensions matter. A marketplace that asks for 1600-pixel product shots, a job portal that caps uploads at 2 MB, or a blog theme that displays images at 800 pixels wide each give you a target. Hit that target and you get a fast-loading image the platform will not re-compress badly. Miss it and the platform resizes for you, usually with worse quality than a careful resize in your own browser.
How do I resize an image without it looking stretched?
Keep the aspect ratio locked. The lock forces the width and height to change together, so a 4:3 photo stays 4:3 at any size. If you type a width and height independently, you can accidentally squeeze or stretch the image. Turn the lock off only when you deliberately want a new shape.
Aspect ratio is the relationship between width and height. A 4:3 photo is slightly wider than it is tall, 16:9 is the widescreen shape of a TV, and 1:1 is a square. When the lock is on, changing one number recalculates the other automatically: type 800 for the width of a 4000 x 3000 photo and the height becomes 600 on its own. The picture gets smaller, but circles stay circular and faces stay natural.
Turn the lock off and you take control of both numbers, which is how stretching happens. A 4000 x 3000 photo forced into 800 x 800 becomes visibly squashed. That is sometimes what you want, for example a square thumbnail, but usually the better move is to keep the lock on for resizing and use the image cropper when you need a different shape. Cropping cuts; resizing scales. If you want to check the ratio of an image first, the image ratio checker simplifies it for you.
Which format should I export to after resizing?
For photographs, export JPEG at 80 to 85 percent quality: small files with detail that still looks crisp. For logos, screenshots or graphics with text, choose PNG, which stays perfectly sharp. For web pages where every kilobyte counts, WebP usually beats JPEG at the same visual quality.
The quality slider is where the real trade-off lives. JPEG at 100 percent keeps nearly all detail but produces a heavy file; at 60 percent the file is tiny but you start seeing blocky artifacts around edges. The 80 to 85 range is the sweet spot for most photos: files shrink to a fraction of the original while the image looks identical on screen. The tool shows an estimated file size before you download, so you can nudge the slider and watch the number move.
PNG is lossless, which means zero quality loss, but photographic PNGs are huge, so reserve it for graphics. WebP gives you JPEG-like small files with better quality and even supports transparency, and it is supported by all modern browsers. If you later need a different format, the image converter can switch formats without another resize.
How to use the Image Resizer in 4 steps
- Upload your image. Drag a JPG, PNG or WebP onto the tool, or click to browse. The original dimensions and file size appear immediately.
- Choose pixels or percent. Type exact dimensions for a platform requirement, or scale by percentage, for example 50 percent to halve a too-large photo.
- Lock the aspect ratio. Keep the lock on so the image scales proportionally and nothing stretches or squashes.
- Pick a format and download. Choose PNG, JPEG or WebP, adjust the quality slider while watching the estimated file size, then download.
6 practical tips for better resized images
- Shrink before you upload. Marketplaces, job portals and contact forms often cap uploads at 2 to 5 MB. Resizing a 12 MP phone photo to 1600 pixels wide usually brings it under the limit with quality to spare.
- Match the display size. If your blog shows images at 800 pixels wide, uploading a 4000-pixel original only slows the page. Resize to the display width, and check social sizes with the social image checker.
- Keep an original copy. Resizing throws away pixels permanently. Keep the full-size original archived so you can re-export at a different size later.
- Use the quality sweet spot. For JPEG photos, 80 to 85 percent quality gives files that look identical to the original at a fraction of the size.
- Export WebP for the web. When the destination is a website you control, WebP delivers the same visual quality as JPEG in a noticeably smaller file.
- Verify the result. After downloading, drop the file into the image dimension checker to confirm the true pixel dimensions before you publish.
Frequently asked questions
Is resizing the same as compressing an image?
No. Resizing changes the pixel dimensions, for example from 4000 x 3000 to 1200 x 900, which removes pixels and shrinks the file. Compression keeps the same dimensions and only squeezes the data. For a smaller file with no visible difference on screen, do both: resize first, then compress.
Will resizing make my image blurry?
Shrinking an image rarely looks blurry, because you are removing pixels the screen could not display anyway. Enlarging is different: stretching 800 pixels into 2400 invents detail that is not there, so the result looks soft. Resize down freely; resize up only when you have no alternative.
What size should I resize photos to for a website?
Match the size the image will actually display at. Blog content images are usually 800 to 1200 pixels wide, hero banners 1600 to 1920. Going larger only slows the page. If the theme is responsive, export at the largest size the layout will show.
Are my photos uploaded to a server?
No. The resizer runs entirely in your browser using the Canvas API. Your photos are processed on your own device and are never sent, stored or seen by anyone else.
Is there a limit on how many images I can resize?
No. The tool is free and unlimited with no signup and no watermark, so you can resize a whole folder of product photos, blog images or listing shots in one sitting without hitting any cap.
Ready to try it yourself? It's free, no signup required.
Try the free Image Resizer →